Preparation
Microfiber cloths
Keep surface preparation separate from your final wipe-down.
What to check
Use clean, low-lint cloths. Separate cloths by task and replace them when they pick up contamination.
Installation Tool Kit
The right tools. A considered workflow.
A clearer path from the first wipe to the final check.
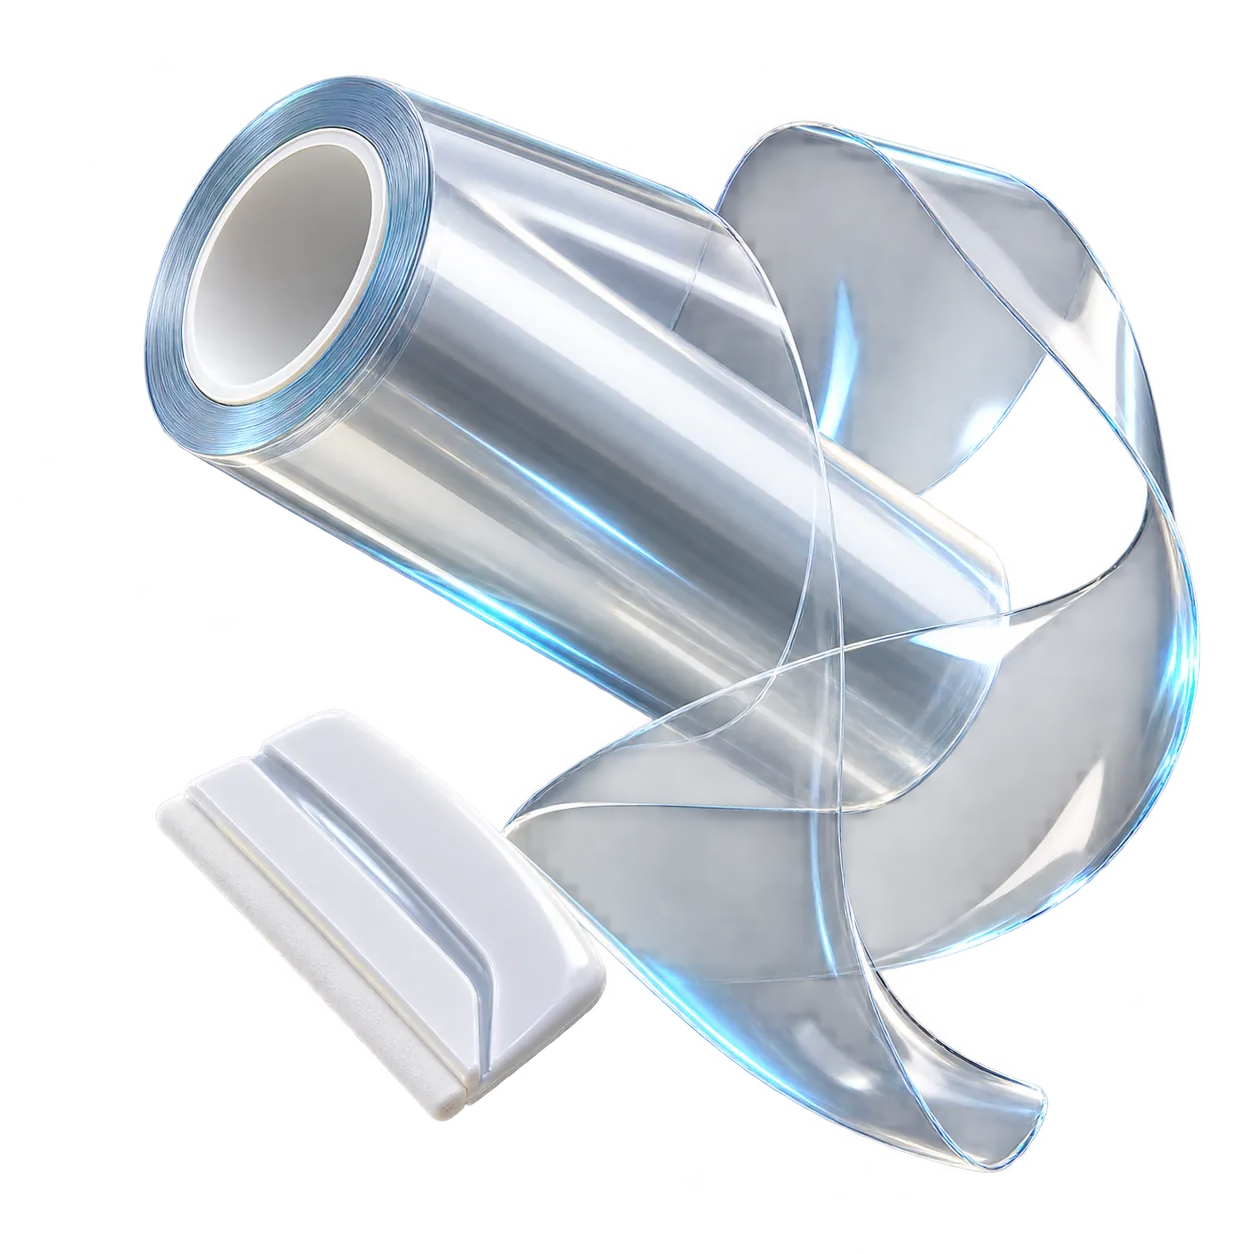
Explore the essentials by the part they play in the installation.
Keep surface preparation separate from your final wipe-down.
Use clean, low-lint cloths. Separate cloths by task and replace them when they pick up contamination.
Keep the appropriate preparation and installation liquids easy to identify.
Label each bottle clearly. Confirm the liquid and dilution with the film supplier’s current application instructions.
Choose a suitable contact edge for the film and the shape of the panel.
Inspect the edge for damage or trapped particles. Match the edge material and firmness to the film and installation method.
Reach contours and finishing areas with more control.
Check the contact surfaces are clean and smooth. Confirm suitability for delicate trim and avoid forcing a tool into a tight gap.
Prepare the film layout before final placement and finishing.
Use a suitable cutting surface and the correct pattern. Follow professional cutting guidance to avoid contact with vehicle paint, glass or trim.
Review the surface from several angles before the final handoff.
Use even lighting to review edges, visible debris and application consistency. Confirm final checks and care guidance for the selected film.
This is a tool selection guide. Confirm kit contents, film compatibility and current application instructions for your project.
Four stages to organize the installation around.
Start with the appropriate cleaning process and a well-lit, organized work area.
Check contact edges, label liquids and keep clean tools within reach.
Use the application instructions for the selected film and vehicle surface.
Review the result, complete the finishing checks and explain the relevant care guidance.
A quick preparation check for your next installation.
Tool choice depends on the film, the vehicle surface and the installation method. Confirm compatibility before using the same tool or liquid across different products.
Vehicle-specific patterns help organize film preparation. Explore the PreCut workflow and confirm pattern fit for the intended vehicle before installation.
Yes. Use Contact Us to describe your film category, installation workflow and the tools your team needs.
Tell us about your film and installation workflow.
Build your conversation